Detecting defects in fibreglass reinforced plastic
Stéphan Couture, of Olympus NDT Canada, explains how phased array ultrasonic testing can detect service defects and wear in fibreglass reinforced plastic (FRP) flanges as part of ammonia scrubber systems.
In some chemical processing plants, to ensure the exhaust is free of hazardous ammonia fumes, a removal system must be installed in the air stream.
Because of its toxicity, ammonia gas is a regulated compound that needs to be treated to below established limits before it is released into the atmosphere. One treatment technology used for this purpose is an ammonia scrubber. To clean the ammonia gas from the air, ammonia scrubbers use a chemical agent such as dilute sulphuric acid. The solid by-product produced from the chemical reaction is then expunged.
Ammonia scrubbers are subjected to highly corrosive conditions, so they are typically made using a corrosion-resistant material such as fibreglass-reinforced plastic (FRP).
Chlorine is another corrosive gas used in chemical manufacturing, and chlorine service pipes and tanks are also typically made of FRP.
Like all assets, the FRP components wear over time, and it is critical to detect any weakness before failure. Using ultrasonic testing (UT) to inspect FRP components such as flanges is particularly difficult because of the attenuative nature of the material and the complex geometries. To overcome these challenges, the inspector can use a phased array (PA) transmit-receiver-longitudinal (TRL) technique involving advanced dual array angle beam probe technology with a PA instrument.
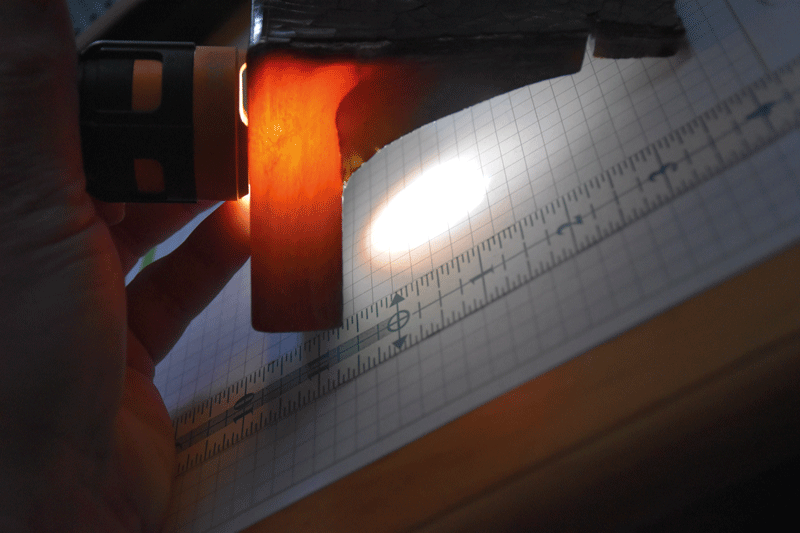
By pulsing low-frequency longitudinal wave ultrasound beams over a wide range of angles, it is possible to cover the critical features of the flange – namely, the corrosion between the sealing face and cracking on the tapered area.
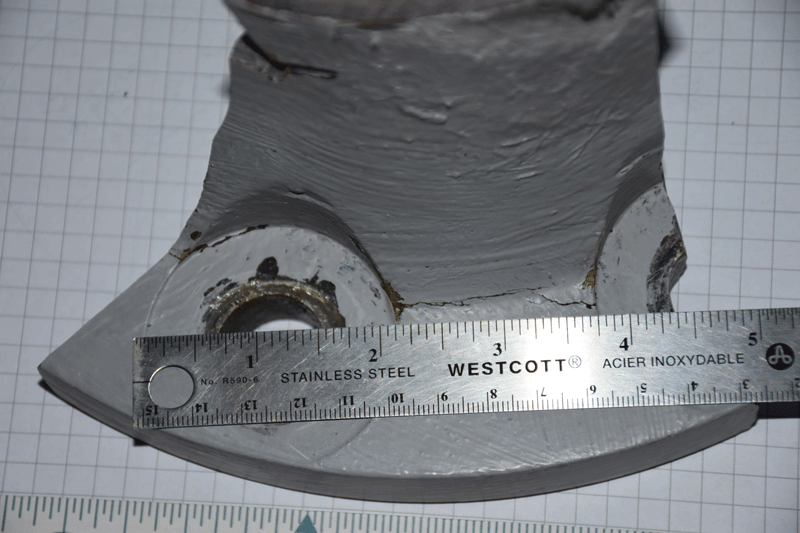
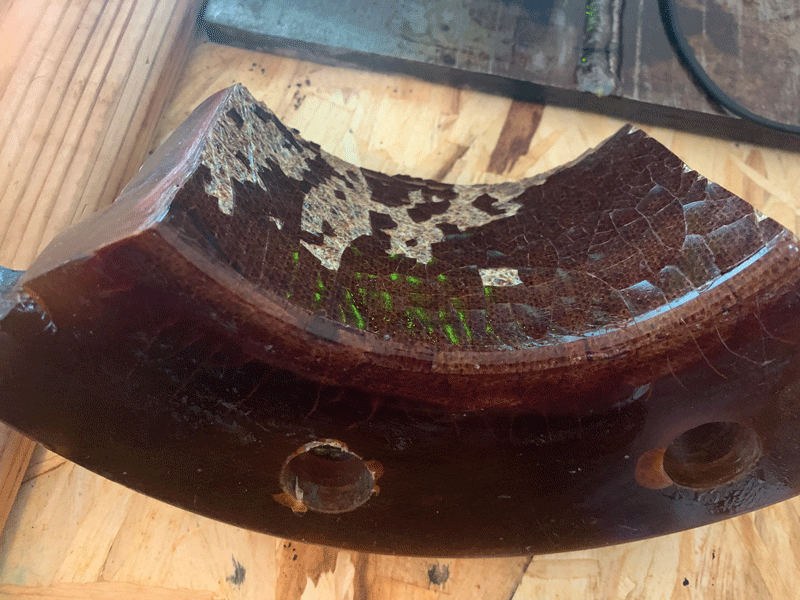
To test the efficacy of the dual array angle beam PA solution, sections of FRP flange containing cracking and internal corrosion, provided by engineering consultant firm Consultco, have been used as specimens.
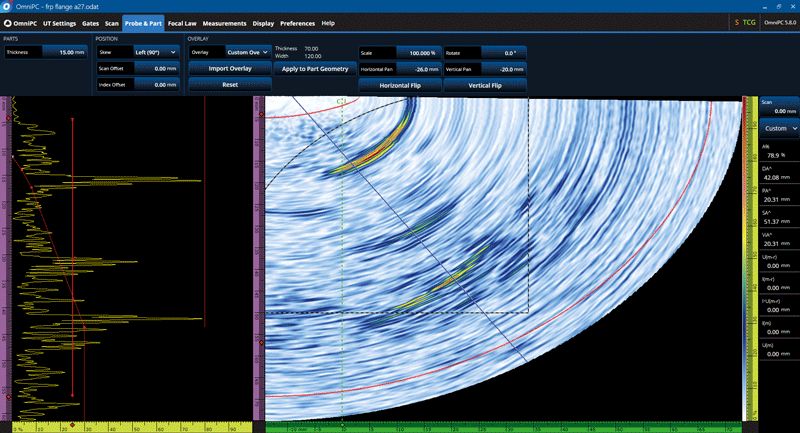
The conventional pulse-echo (P/E) phased array technique could not be used for this inspection. This is mainly because skipping ultrasound off the back wall to detect the outside surface-connected crack is impossible. The material is too attenuative and the inside surface condition too damaged for this to be effective (see image C). Also, preliminary trials show that, although detection of the inside corrosion is possible using P/E, the signal-to-noise ratio (SNR) is very poor and not ideal to conduct a thorough examination.
With probes that use the TRL technique, also known as a pitch-catch technique, the transmitter and receiver are distinct sets of arrays, so that the collected signals only originate from the area where the beams cross each other.
Moreover, due to the acoustically separated pulser and receiver, the wedge size can be reduced as no dampening material is required, and the probe can get closer to the area of interest, providing higher sensitivity and less attenuation caused by long sound paths in the wedge.
When this dual-array approach is carried out using longitudinal waves, it offers lower interference and better penetration compared to shear waves. This combination results in a received signal with a lower noise level, which is key when inspecting noisy, coarse-grained material such as FRP.
For the surface inspection and crack detection, a dual probe with two matrix arrays is used, but it is limited to a high-angle, first-leg inspection.
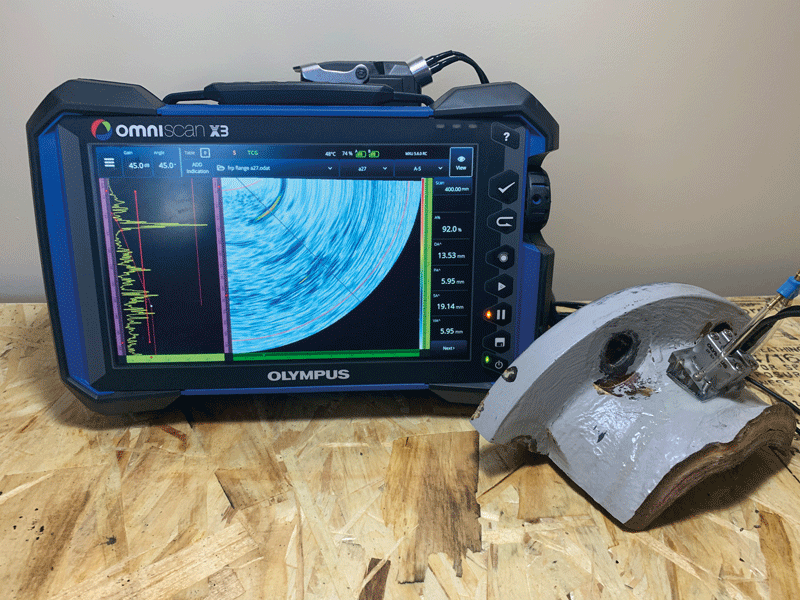
The phased array sectorial scan is configured to include angles that reach as high as 89°. Above approximately 78°, all A-scan beams essentially propagate parallel to the surface at a longitudinal velocity. This technique enables detection of a shallow notch, cracks and other flaws in a similar way.
A combination of choosing the right dual array probe technology, probe frequency and focusing strategy makes crack and corrosion inspection in FRP flanges possible. To facilitate the analysis, the data display has a custom overlay designed to match the flange sample. The scan results enable both the inside corner of the flange, where the corrosion started to damage the layers of FRP, and the surface-connected crack to be detected and assessed.
